The TO - Manage Classes task is available for training organizations and allows the training organization managers or employees the ability to schedule and process classes for their organizations. A class is an instance of an existing training. Before scheduling a class, you may need to create the training or sponsor an existing training. DHS/PDS will then need to approve your request before scheduling a new class. See the topic TO - Manage Trainings to learn how to submit trainings for approval. Refer to the table below to review the relationship between the Training Registry elements.
|
Term |
Definition |
|
Training |
Summary of content or a defined curriculum for a class that will be used each time you schedule this content. |
|
Class |
An instance of the training you schedule to be held in the future. |
|
Series |
A grouping of classes that has been predefined within the Training Registry. |
|
Conference |
A group of classes or workshops defined by the training organization. |
|
Quick Steps:
|
Before you begin: Open and Sign In to the Iowa Child Care Provider Training Registry.
The result: The Manage Account page displays.
Click the ![]() for the Task
field.
for the Task
field.
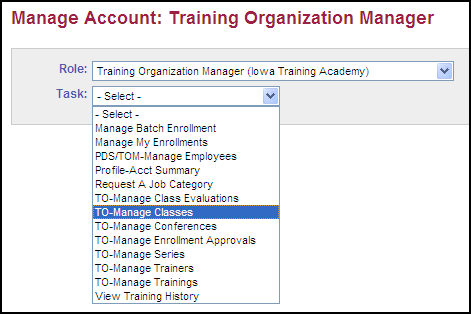
Select TO - Manage Classes.
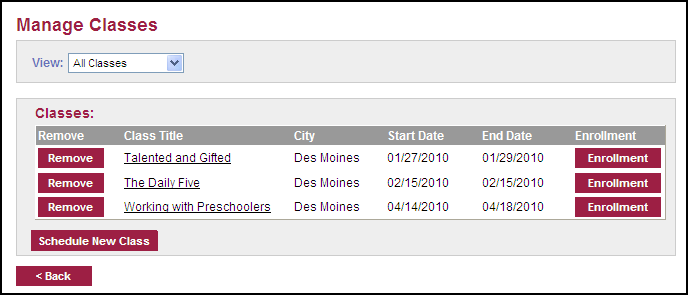
The result: The Manage Classes page displays.
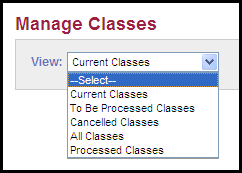
Click the ![]() for the View
field.
for the View
field.
The result: The view options display.
|
|
View |
Definition |
|
Current Classes |
All classes on the calendar today and in the future. | |
|
To be Processed Classes |
Past classes that have not had the attendance processed. | |
|
Cancelled Classes |
Cancelled classes that may have enrollees waiting for reschedule. | |
|
All Classes |
All classes regardless of status. | |
|
Processed Classes |
Past classes that have been marked for attendance. |
 By default, the view will be Current
Classes.
By default, the view will be Current
Classes.
Click  .
.
The result: The Select Training page displays.
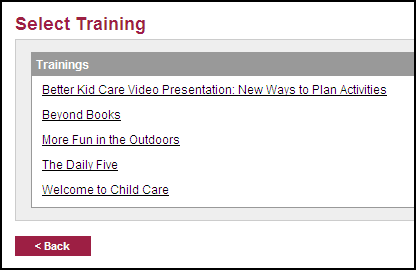
 The trainings listed
are those trainings your organization has received approval to train.
If you do not see the training you need listed,
please see the topic TO - Manage Trainings
to apply to sponsor an existing or create a new training.
The trainings listed
are those trainings your organization has received approval to train.
If you do not see the training you need listed,
please see the topic TO - Manage Trainings
to apply to sponsor an existing or create a new training.
Click the title of the training.
The result: The Schedule a Class page displays.
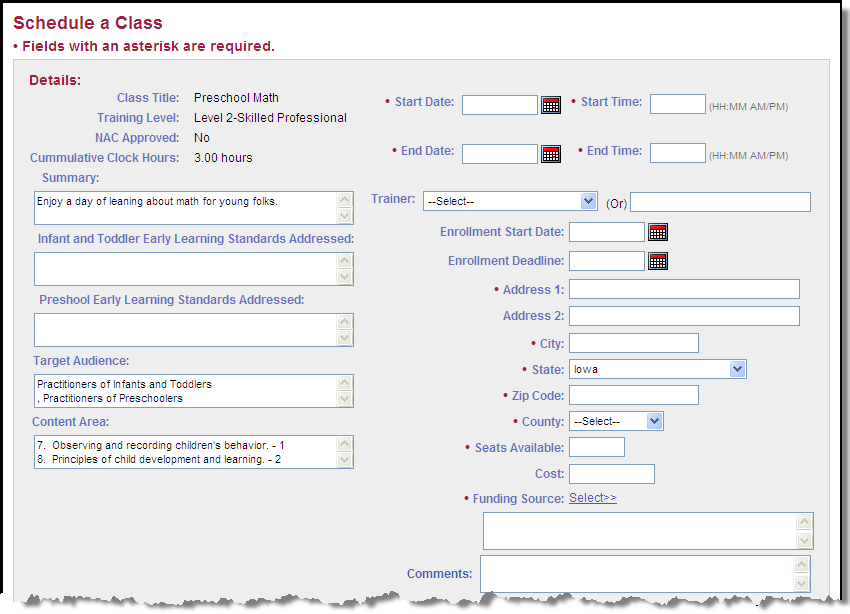
Enter the class-specific information on the right side of the page.
All fields identified with an asterisk(*) must
be completed to post the class.
The Trainer for the
class can be selected if they are listed as an instructor for this training
or the name of the trainer can be entered manually.
The Enrollment Start
Date: field defines the date this training will appear for the
public.
Use the Address 1 field to identify the building
where the enrollees will attend class.
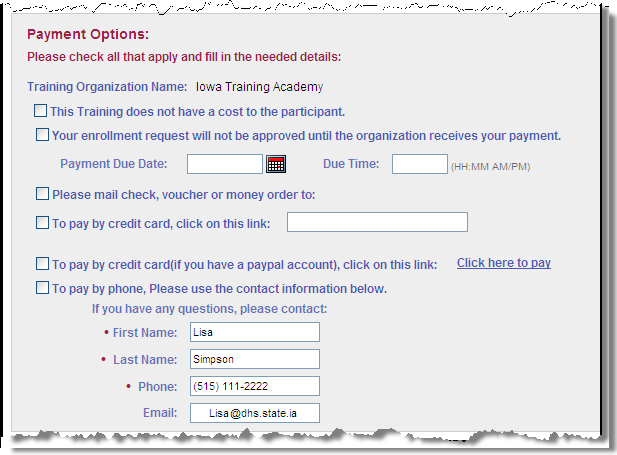
Select the appropriate payment option or options for the class in the Payment Options section of Schedule a Class page.
|
Payment Options |
What it indicates |
|
This Training does not have a cost to the participant |
There is not a cost associated with the training. |
|
Your enrollment request will not be approved until the organization receives your payment. |
The training organization can provide a payment due date to indicate a deadline to the enrollee. |
|
Please mail check, voucher or money order to: |
The section expands to display Business and Address information fields to allow entry. |
|
To pay by credit card, click on this link: |
Allows the input of an internet address where enrollees can pay online. |
|
To pay by credit card (if you have a pay pal account), click on this link: |
This will allow an enrollee the option of paying by connecting to Pay Pal. |
|
To pay by phone, please use the contact information below |
This will allow the training organization to direct enrollees to call to make payment via telephone. |
Click
 .
.
The result: The Manage Classes page displays with the newly created class.
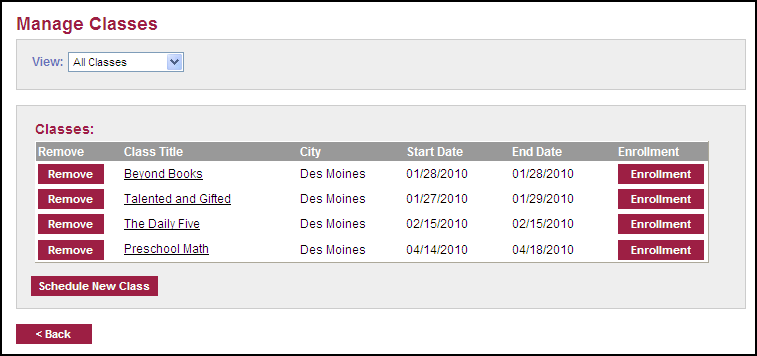
Click the class title to view or edit the class
details.
Click the title of the training.

The result: The Schedule a Class page displays the details of the class.
Update the class information.
Click .
The result: The update is made and the Manage Classes page displays.
Click  .
.
The result: The Manage Class Enrollment page displays.
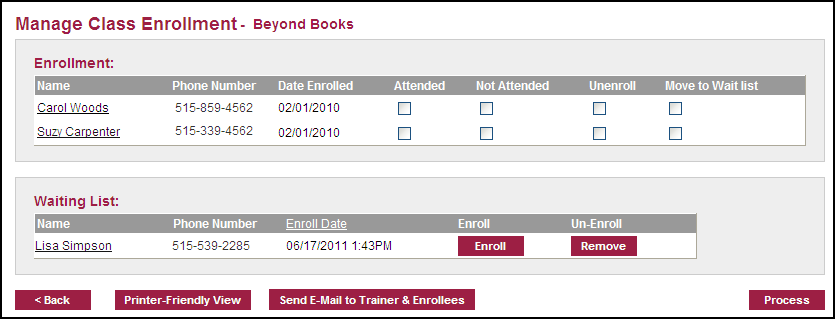
Click  in the Waiting List section of the page.
The result: The Manage Class Enrollment page displays with the new person listed in the Enrollment section.
The order in which you Enroll the enrollees will
determine who is placed upon the waiting list. To
learn more about approving the enrollment of a training, see the topic
Training Enrollment.
A notification Email is automatically sent to the
enrollee to inform him or her of the enrollment status.
Click the check box in the Move to Wait list column.
Click  .
.
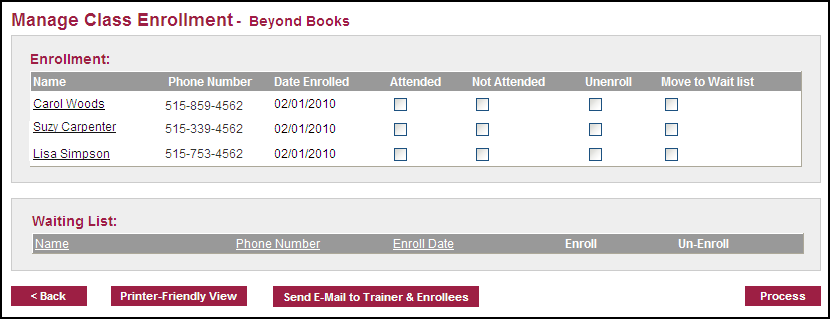
The result: The Manage Class Enrollment page displays with the person now listed in the Waiting List section.
Click the check box in the Unenroll column.
Click .
The result: The Manage Class Enrollment page displays without the person listed.
Click  .
.
The result: The Manage Class Enrollment page displays without the person listed.
Click .
The result: The Manage Class Enrollment page displays.
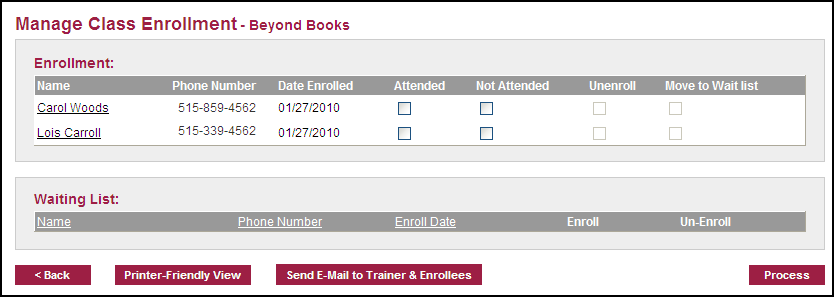
Click to place a check mark in the Attended or Not Attended check box to indicate attendance.
The result: The Manage Class Enrollment page displays with the appropriate check marks.
Click to save and update the class enrollment.
Click  .
.
The result: The Class Enrollment Print window displays.

|
Detail |
What it means |
|
Date Scheduled |
Date and Time the training begins |
|
Registration Date |
The date the enrollment took place |
|
Attended? |
Identifies if the participant attended the training |
|
Notified? |
Identifies if the participant was notified by Email |
Click  to produce a paper copy using your printer
settings.
to produce a paper copy using your printer
settings.
To create an electronic file with the enrollment
data, select all (Ctrl-A), copy (Ctrl-C), move to Word or Excel, and paste
(Ctrl-V)
Click  to close the print window and return to the
training registry.
to close the print window and return to the
training registry.
To send an e-mail to class participants and instructor:
Click  .
.
The result: An e-mail message will generate with the participant's e-mail addresses listed in the To: field. This is dependent upon your computer's e-mail software.
To remove a class:
Click  next to the Class Title for the instance
you want to remove.
next to the Class Title for the instance
you want to remove.
The result: A message box displays to confirm the removal.
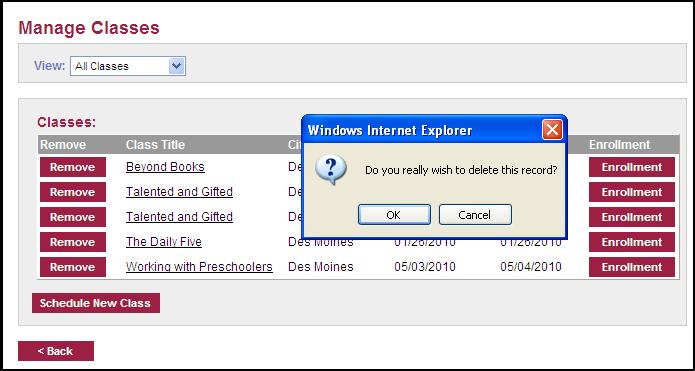
Click  to confirm the removal of this class.
If there are students enrolled in the class, it
cannot be removed.
To cancel a class:
Click the title of the class.

The result: The Schedule a Class page displays.
Click the Cancel this Class check box.
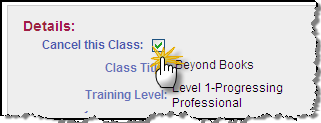
Click .
The result: The Manage Classes page displays without the cancelled class listed and an Email is sent to enrollees stating that the class has been cancelled.
Important: When cancelling a training, all enrollees will remain attached to the training in the event you edit and repost it with a new date. The enrollee is not automatically notified of the enrollment in the new training. It is the Training Organization's responsibility to notify enrollees or unenroll them from the training.
Related Topics: